Main Window:
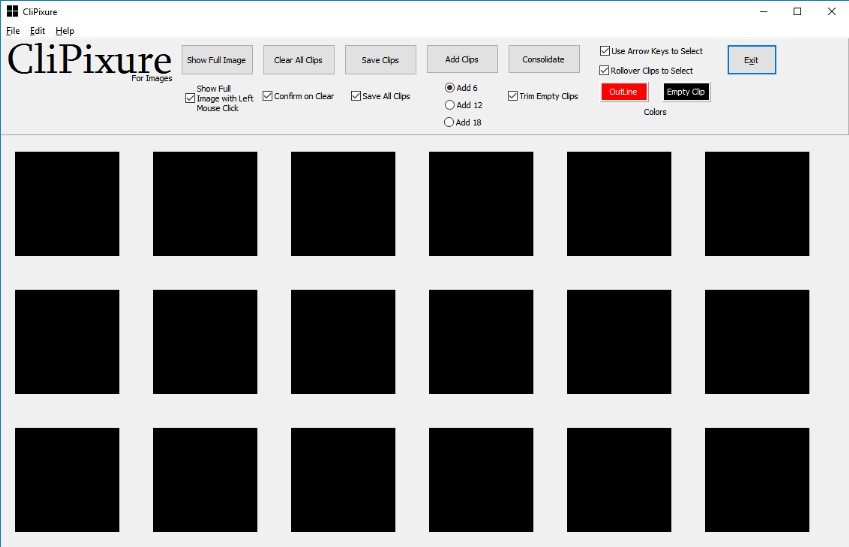
I put all the options on the window instead of menus.

- If the Show Full box is checked, clicking a thumbnail will open the image in a new full-size window.
- To quickly erase all the images. If the Confirm button is checked, you'll be prompted before the erase.
- Save the curent hi-lited clip, or if the Save All is checked save all occupied clips.
- Add more empty clips. Increments can be 6, 12 or 18.
- Consolidate - if there are gaps between occupied clips, this will smush them together at the top. Trim will remove empty clips.
- Clip navigation. Tab (and back-tab) will move between clips, or clicking a clip will select it.
- The colors for the active clip outline and the empty thumbnails.
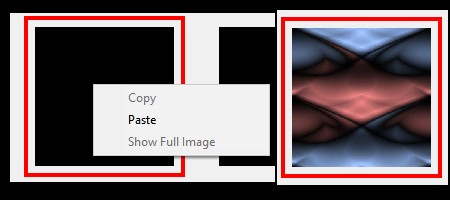
Move between clips by using the Tab key; roll the mouse over a clip to hi-lite it; use the arrow keys; or click a clip.
Active clips are indicated by the Hi-lite box (mine is set to use Red for the Outline color).
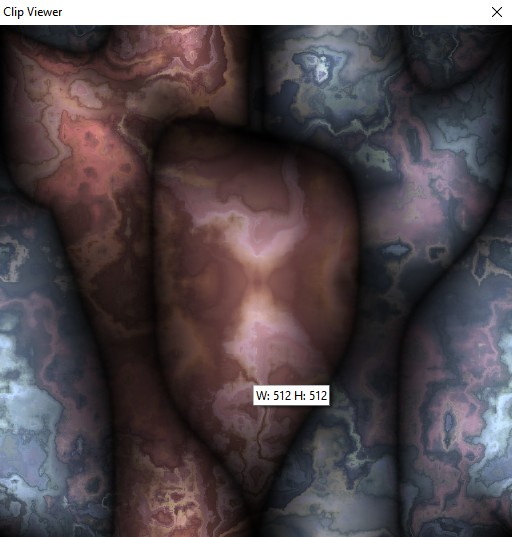
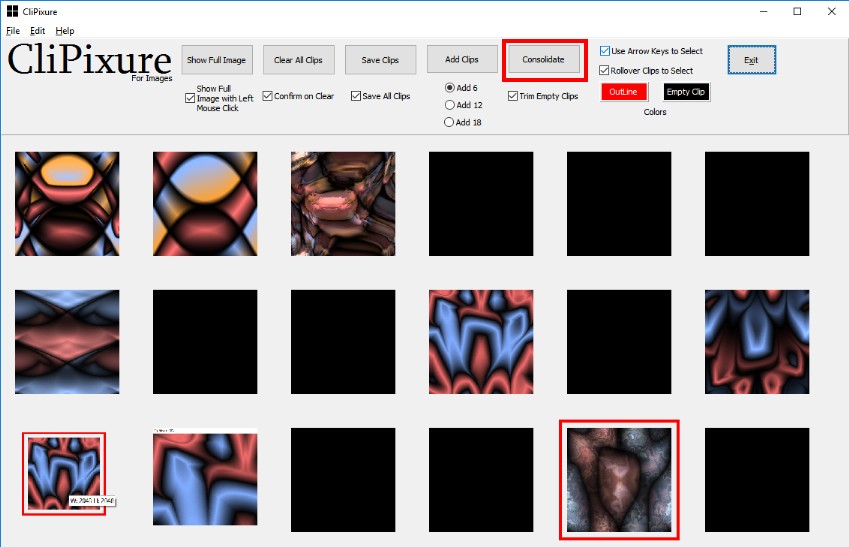
When a clip is occupied, left-clicking will show the full-size image in a separate window. EXCEPT - if the full-size image is too large to fit on the screen, it will be reduced to fit with an indication of it's relative size. Hover the mouse over the image to see the actual image size. Here you can see that the actual image is 2048 x 2048 which is larger than my screen size. When I click to preview, it opens a new window and shows it is 58% of the original size (cropped to save space on this web page):

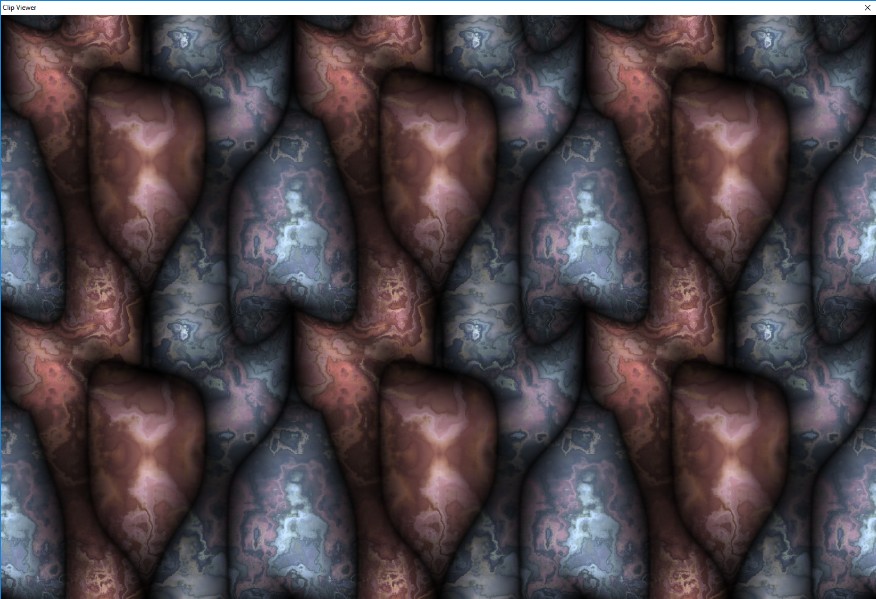
When the clip viewer is open, hovering the mouse will show the dimensions. Left-click anywhere on the image to close the viewer, or right-click on the image to show the image as a tiled background
Right-click:
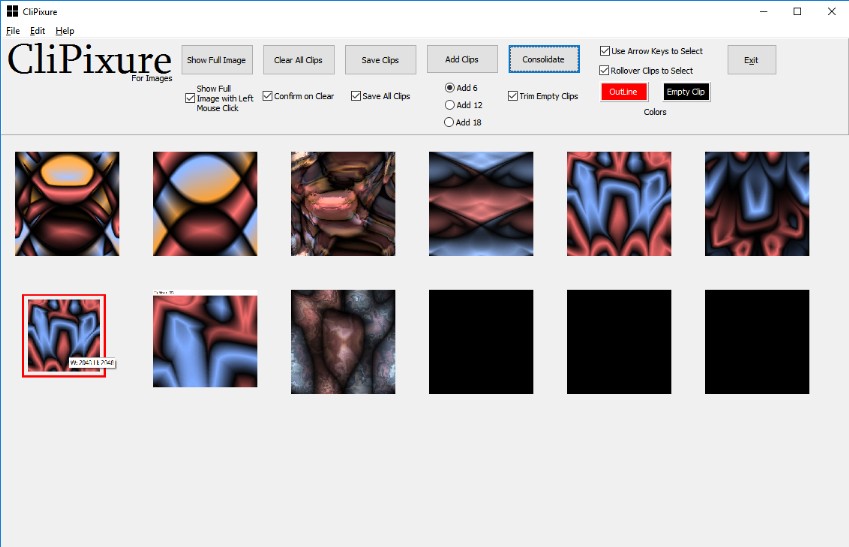
Here you can see that I have occupied clips sort of scattered around, and I'd like to tidy things up. Use the Consolidate button for that purpose, and if the trim empty clips is checked it will remove empty clips.
Before
After
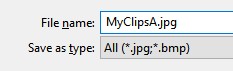
Images can be saved all-at-once if the Save All Clips box is checked. You're only prompted once for a file name. Each file has a number added at the end that corresponds to its position. If there are empty clips, they won't be saved. If you want consecutive numbers consolidate before saving.
Images can be saved as jpg or bmp:

Back to Top